- Home
- Resins (All)
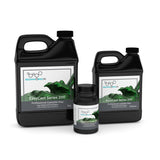
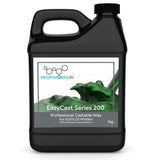
- Resinworks3D EasyCast Series 200
Description:
Overview
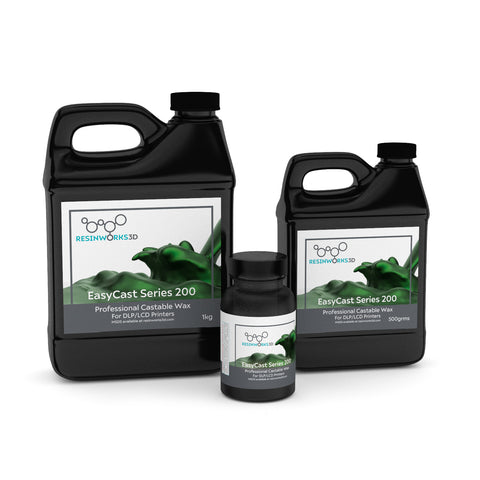
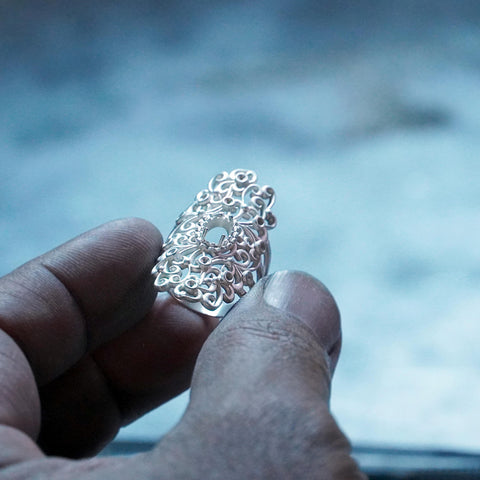
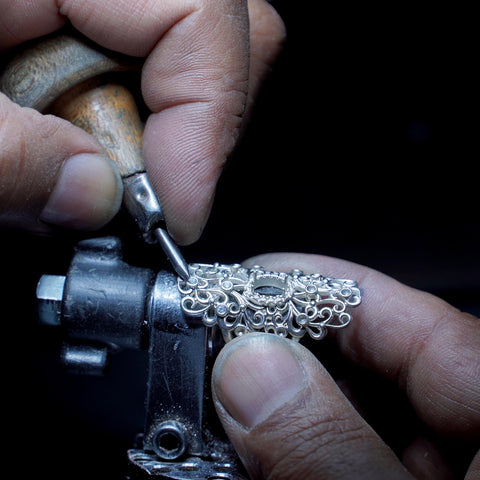
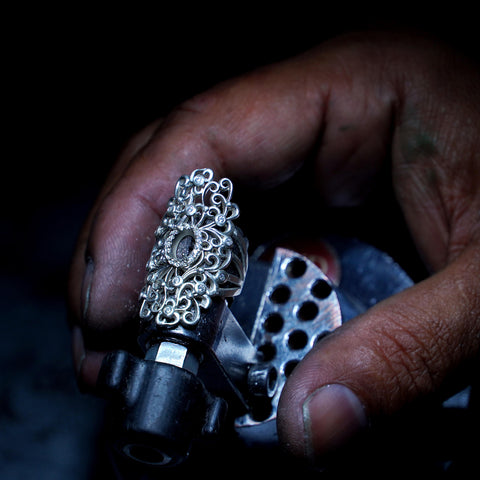
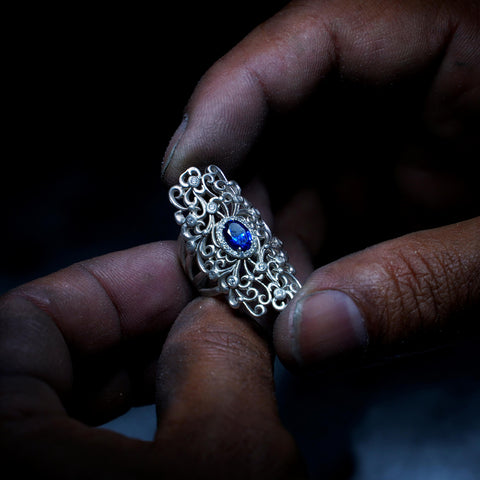
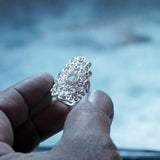
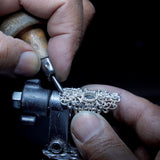
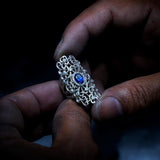
EasyCast Series 200 is the newest Photopolymer Wax resin developed by ResinWorks3D. This unique formulation is a green opaque resin that is formulated with 20% wax and is tested to work with ease on DLP and Monochrome LCD 3D printers. Users can confidently print and cast fine delicate features like milgrain, microclaw and wired patterns plus engraved and raised details.
Wide Range of Applications

The Series 200 will tackle a wide range of standard ring, earrings and pendant weighing up to 25 grams with ease. The printed model can cast in all precious metals in all commercially available investments.

The Series 200 has been designed to reduce the internal stress on the investment as the model melts out during the burnout cycle.

Whether you are using a gypsum and phosphate bonded investments, you can confidently cast your designs with success and minimise breakaways.
Post Processing & Burnout Schedule
20% wax content
Dimensions: 15 x 10 x 20cm
Size: 500g, 1kg
Cleaning Your Printed Parts:- Remove printed parts(s) from build plate.
- Submerge part(s) in IPA 99% or Methyl hydrate bath.
- Shake vigorously in bath solution for 30 to 40 seconds. Remove and inspect part(s) for residual resin.
- If part(s) still have residual resin, repeat step 3 as neces sary, until all residue is removed.
- Take part(s) and rinse under HOT WATER for about 30-40 seconds and then under COLD WATER.
- Use compress air to blow dry part(s). Inspect part(s) for shiny patches. Repeat Step 3 and Step 5 If you see shiny patches. ALL AREAS OF PARTS SHOULD HAVE A MATTE FINISH.
NOTE: DO NOT LEAVE PART(S) IN METHYLHYDRATE OR IPA BATH FOR LONG TIMES AS IT MAY CAUSE CRACKS IN THE PART
Curing Your Printed Parts:- Place part(s) in a glass bowl.
- Fill glass bowl with glycerin covering the printed part(s).
- Place bowl of glycerin with printed parts) in UV curing chamber.
- Turn on UV chamber for approx. 30 to 40 minutes. Curing times may vary based on type of curing chamber used and part density.
- Turn part(s) every 10 minutes so that the UV light can be absorbed by all surface areas.
- Part(s) should be extremely rigid and brittle. Squeeze parts) in a variety of directions to ensure the parts are full cured. If the part(s) are still soft, place back into the UV curing chamber and cure for an additional 10 minutes.
- Repeat step 6 to achieve desired stiffness.
- Wash part(s) In HOT WATER and then COLD WATER and then use compressed air to completely dry off part(s).
- Submerge part(s) in CLEAN IPA for 30 seconds and dry.
Burnout:

Useful Links
Not sure about your profile settings? Read this print guide from Resinworks3D

Authorized Resinworks3D Reseller

Support Local
Ships from Ontario

Recommended by
Humans


